

Part 3: Small Group, Big Habits – and the Exercises That Make a Difference
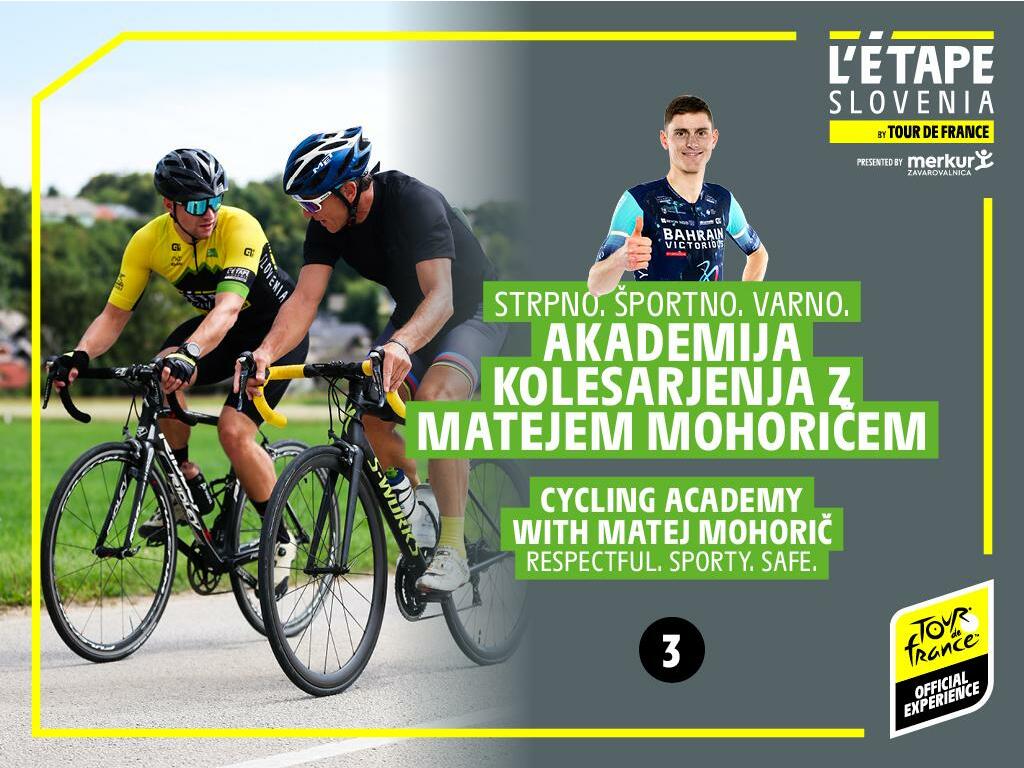
With this series of content in the Cycling Academy with Matej Mohorič, we promote a culture of respect for the road, the rules, and for one another. Respectful. Sporty. Safe.
This time, we focus on two areas that are among the most everyday aspects of recreational cycling, yet often decisive: riding in a small group and skill drills you can safely practice in a calm, controlled environment. Most cyclists ride primarily with friends, acquaintances, or colleagues, and an increasing number connect through communities on the Strava app. It’s precisely in these smaller groups that habits—both good and bad—form the fastest. And it is these habits that then carry over to larger events, where everything is faster, more crowded, tighter, and more demanding. That’s why we encourage you to consciously practice and develop a feel for group riding.
Riding in a Small Group: A Clear Agreement Is the Best Protection
Before the ride, it’s worth aligning on a few basic parameters:
- the purpose of the ride (training or relaxed riding)
- the approximate pace
- where regrouping or waiting will happen
- who rides at the front and who brings up the rear, or how often you rotate the lead
- and the chosen method of communication.
On the road, misunderstandings most often arise when the pace increases without agreement. The group stretches, riders start chasing one another with sudden accelerations, and things quickly become unpredictable
A Small Group Can Be Fast — But It Must Remain Predictable
Key guidelines for a safe and enjoyable group ride:
- When riding together, make your movement readable: hold a steady line, don’t weave, don’t hug the road edge, and avoid sudden braking.
- Rotations at the front should be calm—no sprinting to the lead and no abrupt changes in rhythm.
- If someone starts to feel unwell or fatigued, they should say so; the group should ease off or wait at a safe, agreed point.
- If you are connecting via our Merkur zavarovalnica L’Etape Slovenia club on Strava and don’t know each other well, make sure to agree in advance on the key parameters of the ride (pace, distance, route profile).
Avoid unnecessary rivalry between riders. Too often it turns into a silent race, which leads to a fragmented group, frustration, excessive fatigue, sore muscles, dangerous traffic situations, and speeds that are harder to control.
Skills: Repetition Matters — but So Does Awareness
Skills are not something you learn once and then tick off. They are a state you maintain. The key isn’t just repetition, but sensitivity: observing your own movement, tension, and small adjustments.
A bicycle is most stable when the body is relaxed—not limp, but supple and responsive. Stiffness leads to jerky movements, and those lead to mistakes: gripping the handlebars too tightly, braking too late, locked elbows, and a gaze that’s too close to the front wheel.
Below, we present a selection of drills.
Important: Always practice in a safe environment an empty car park, a training area, or a quiet road with no traffic. Practicing in pairs or small groups is even better, as you can give each other feedback. What’s visible from the outside often feels quite different on the inside. Sometimes it’s also useful to be filmed and review your movement afterwards.
The drills below are designed to develop a calm line, a stable gaze, and soft hands.

Cycling Skill Drills - Choose 3–5 per training session
1) Braking – Feeling Pressure Instead of Panic
Accelerate to a moderate speed and brake progressively: start gently, then apply more force, always in control. Notice the weight transfer forward and keep your elbows relaxed. Add a drill where you brake to an imaginary line at the same spot each time—training consistency and timing.
2) Cone Slalom – Where You Look Is Where You Go
Set up 6–10 cones or bottles, spaced 3–4 metres apart. Ride the slalom while keeping the handlebars calm; don’t flick them left and right. Guide the bike smoothly with your body. Don’t look at the cone—look at the space you want to ride into. Once the line is clean, gradually reduce the spacing.
3) Slow Riding – Balance and Control
On a flat surface, try to ride as slowly as possible without putting a foot down. This drill develops balance and smooth movement—essential for group riding, turning, stopping, and tight corners.
4) Picking Up a Bottle from the Ground – Three-Step Progression
First, simply touch the bottle and leave it on the ground. Then pick it up at a very low speed. The third step is picking it up at a moderate speed. The goal is a stable torso, eyes forward, and no forward collapse of your centre of gravity. If your line breaks, step back a level and give yourself time.
Patience is the mother of wisdom.
5) One-Handed Riding – Core Stability
On a safe stretch, ride for 20–30 seconds with one hand on the handlebars. The goal isn’t bravado, but stability. If the bike weaves—or floats, as we say—it usually means the core isn’t stable or the gripping hand is too tense. Switch hands. This is an excellent preparation for signaling in a group.
6) Signaling and Changing Direction – Clear Message, Calm Manoeuvre
Practice hand signals for turning, followed by a gentle move left or right, as if avoiding an obstacle. The signal should not be a jerk, and the change of direction should be gradual and predictable.
7) Descending – A Position for Control and Relaxation
On a mild, safe descent, lower your centre of gravity, keep elbows slightly bent, shoulders relaxed, and your grip light. The tuck is not a competition of posture—it’s a position for control. Practice in short intervals (10–15 seconds), then return to your normal position. Notice if you’re gripping the bars too tightly.
8) Softness in Movement – Three Quick Checks While Riding
Ask yourself these questions continuously until they become automatic:
- Are my shoulders raised?
- Are my hands tense?
- Am I holding my breath?
Consciously drop your shoulders, soften your fingers, and take a longer exhale. This small exercise has a big effect: it reduces stiffness, improves stability, and prevents abrupt reactions.
Endurance sports are not about routine or pure mechanics of movement—they are an exceptional training ground for sensitivity, mindfulness, and continuous technical improvement.
Bringing Drills into Rides with Friends
Once you’ve mastered the drills in a safe space, you don’t train them in the group—you make habits.
- Drink only where there is sufficient space and a stable rhythm.
- Brake gently and early, without surprises.
- On descents, prioritize a calm line and a steady gaze over chasing speed.
In small groups, it’s ideal to talk about these things. After the ride, share one thing that went well and one thing you’ll improve next time. This is the fastest path to progress—small, conscious adjustments.
A Short Tip from Matej Mohorič
Skills are not a trick; they are a habit. When you practice, pay attention to the details: your gaze, soft hands, a calm line. If the body is relaxed, the bike is stable. And when you’re stable, you’re safe—and faster too, because you’re not wasting energy correcting mistakes. — Matej Mohorič
What You Should Take Away from Today’s Cycling Academy
A small group is the best environment for developing a positive cycling culture: clear agreements, predictable riding, and respect for each rider’s pace. Drills are the way you reinforce that culture with real, practical skills—drinking, braking, line choice, balance, relaxation.
Don’t look for dramatic breakthroughs. Look for micro improvements: a slightly calmer gaze, slightly softer hands, slightly earlier and more controlled braking.
When these small things add up, your riding becomes safer, smoother, and more enjoyable—both among friends and at L’Etape Slovenia.
👉 Respectful. Sporty. Safe. Together we strengthen tolerance, sportsmanship, and mutual respect. [>>>Further reading]